For Rhapsody instruments (and Sordina) please click here. For everything else, keep reading.
If you are installing a Libre Wave virtual instrument the installation is done in two stages; first you’ll install the software plugin and standalone application, then you’ll install the samples.
If you are installing a Libre Wave effect plugin you’ll only need to follow the instructions for installing the software as there will be no samples to install.
Video tutorials are provided in addition to the written instructions.
Installing the software
Every product includes separate installers for GNU/Linux, Windows, and Mac. Please follow the installation instructions below for your operating system.
GNU/Linux
If the download has a .zip extension then all you need to do is extract the file to the location of your choice. Usually this will be the .vst3 folder within your home folder.
If the installer has a .sh file extension it needs to be run from the terminal. The simplest way is to drag the installer file onto an open terminal window and press Enter. If you see a command not found error you will need to grant execute permissions to the installer, how you do this will vary depending on your OS. In Linux Mint you can right click the .sh file, select properties, click the permissions tab, and check the execute box.
The software license will be displayed. You can scroll down a whole page by pressing the Space Bar or a single line by pressing the Enter key.
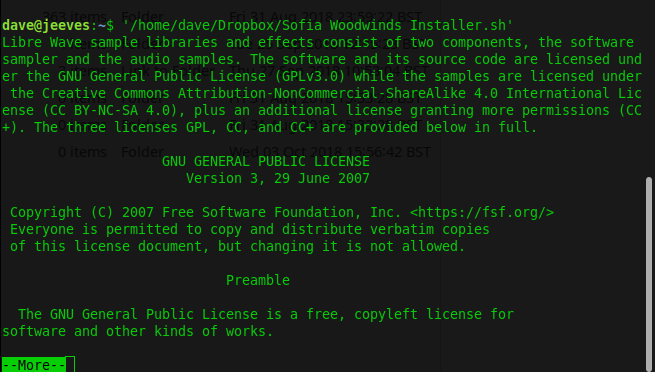
Once you reach the end of the license you’ll be prompted to accept its terms. Type y if you accept the terms and want to continue the installation or n if you don’t and would like to exit. Then press the Enter key.

If you accepted the terms of the license you’ll be asked if you would like to install the VST plugin version of the software. Type y if you do and press the Enter key, you’ll then be prompted to enter a location to install the plugin. You should enter the full path to an existing directory, if the directory doesn’t exist the installer will ask you to choose another location. If the directory you choose requires root permissions then you’ll need to restart the installer with root access (sudo).

If the software includes a standalone application you’ll now be asked if you would like to install it. Type y if you do and press the Enter key, you’ll then be prompted to enter a location to install the standalone application. You should enter the full path to an existing directory, if the directory doesn’t exist the installer will ask you to choose another location. If the directory you choose requires root permissions then you’ll need to restart the installer with root access (sudo).
The standalone installation will also place the license file and application icon into the install directory. You can use this icon for any desktop or menu shortcuts you create for the standalone application.

The software installation will now complete and you can move on to installing the samples.

Windows
The Windows installer has a .exe file extension, double click it to launch the setup wizard. The first screen will present the software license, if you agree with its terms select I accept the agreement and then click Next.
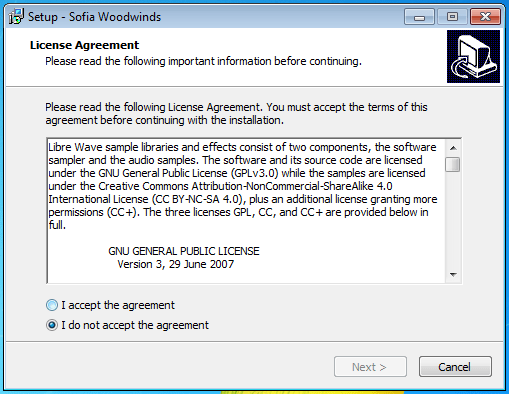
If the library contains a standalone application you might be asked to select the location you’d like it installed.
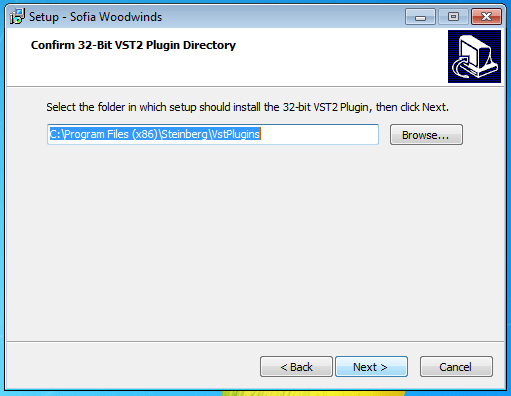
On the next screen you’ll need to supply a location to install the 32bit version of the plugin. These don’t need to be the same location as each other or the same location where you will install the samples.
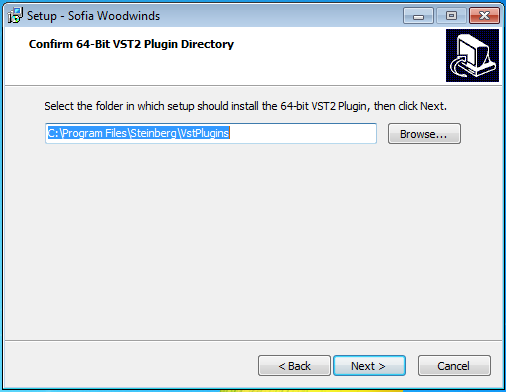
Now you need to select a location for the 64bit version of the plugin. This does not need to be the same location where you will install the samples.
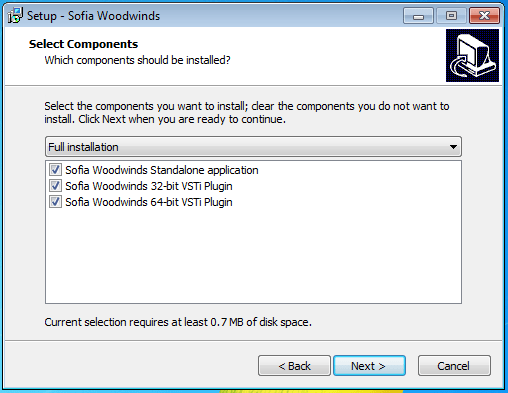
You’ll now be given the opportunity to customise the installation. You can choose which components you’d like to install by marking the checkboxes next to them. Once you’ve made your selections click Next.
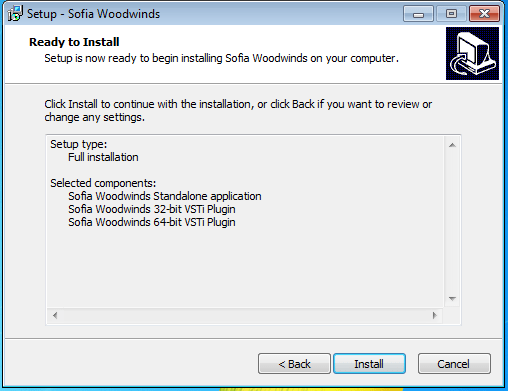
A final confirmation screen will be shown. Here you can review the installation configuration and if it’s correct click Install to begin the installation.
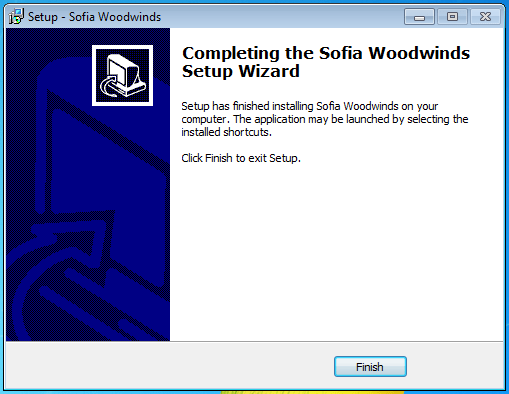
Once the installation is complete click Finish. You can now move on to installing the samples.
MacOS
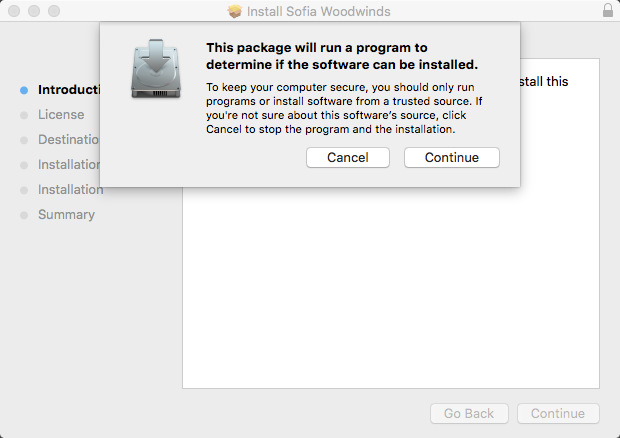
The MacOS installer has a .pkg file extension, double click it to start the setup process. If the installer is blocked by your system security you will need to open the MacOS security and privacy settings application and allow the installer to open.
Click Continue in the security prompt that pops up and then click the Continue button at the bottom of the window.
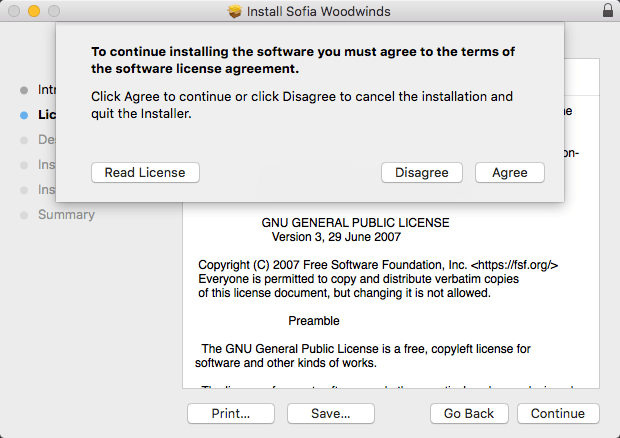
Read through the license document and if you accept its terms click Continue and then Agree.
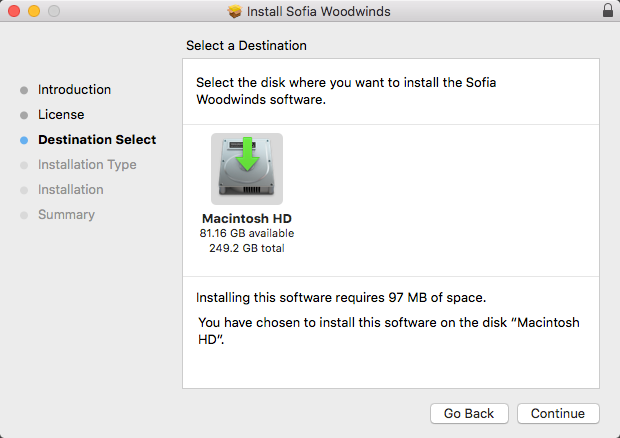
Select the hard drive on which you want to install the software. This doesn’t need to be the same as the location where you will install the samples.
Then click Continue.
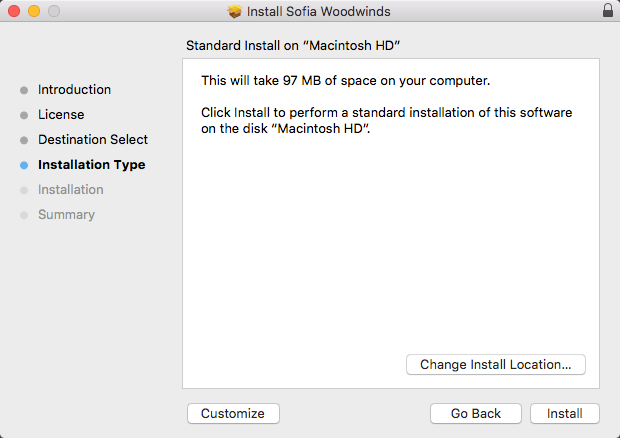
The next screen allows you to confirm that you selected the correct install location and informs you of how much disk space the software requires. You can click the Customize button if you’d like to choose which components are installed. If the software includes a standalone version this will be installed in Applications folder.
Click Install.
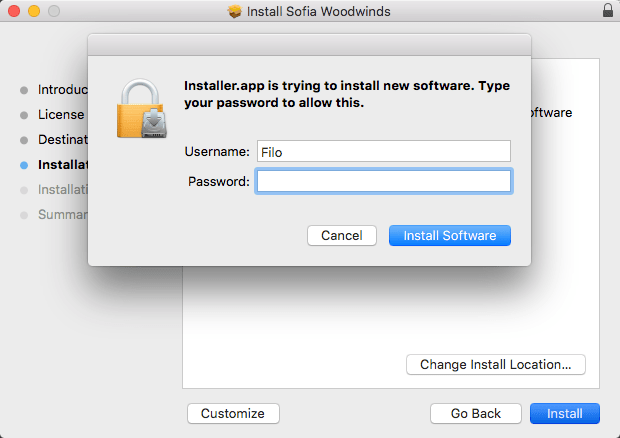
You’ll be prompted to enter your password to confirm that you want the installation to proceed.
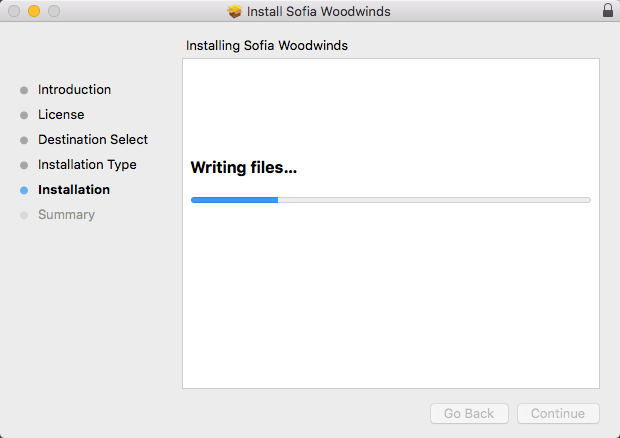
The installation process will begin and the on-screen progress bar will keep you informed of the current status.
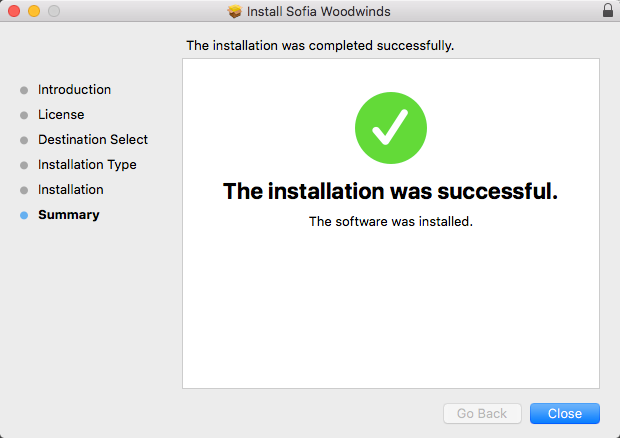
You’ll see the following screen once the plugin installation is complete. Click Close and you can now move on to installing the samples.
How to install the samples
If you’re installing a Libre Wave virtual instrument you will have received one or more .hr files. These contain the audio samples that need to be extracted.
When you open the instrument for the first time you will be presented with two buttons, click Install Samples.
You’ll then be prompted to select the file that ends in .hr1. Then you’ll be asked to select the location to extract the samples to.
This doesn’t need to be the same location where you installed the plugin. For the best performance it is generally recommended to install samples on an SSD.
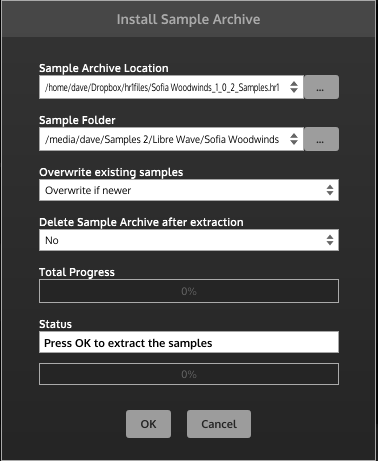
When you have selected the destination folder the sample installation tool window will open. This provides you with two additional settings – Overwrite existing samples, and Delete Sample Archive after extration. For a first time install I recommend leaving both of these at their default value.
Click ok. You’ll then have a short wait while the samples are extracted to your chosen location.
After the process is complete you might see a prompt saying The sample directory does not exist, click the Ignore button. Now you’ll need to close and reopen the plugin or standalone application to complete the setup.
What to do if something goes wrong
Follow these instructions if something went wrong with the sample installation process or you’re updating to a new version of the samples.
Go to the folder that contains the configuration files for the sample library and delete the link file. Then reopen the sample library and you will again be prompted to install the samples.
The link file was created when you installed the software. The location of the file varies between operating systems:
- GNU/Linux: /home/username/.config/Libre Wave/Plugin Name/LinkLinux
- Windows: Users/username/AppData/Roaming/Libre Wave/Plugin Name/LinkWindows
- MacOS:~/Library/Application Support/Libre Wave/Plugin Name/LinkOSX
- You’ll need to hold down the ALT or Option key while opening the Go menu in order to be able to access the Library folder.
Replace username with your username and replace Plugin Name with the name of the plugin.
Moving the samples to a new location

If at some point after installation you move the samples to a different location you will need to redirect the sample libraries search path.
You may be prompted to do this when you run the library after moving the samples or you can do it manually by going into the settings page of the plugin and clicking the Change sample folder location button.

